I like it when a photograph makes me think there is a story contained within it.
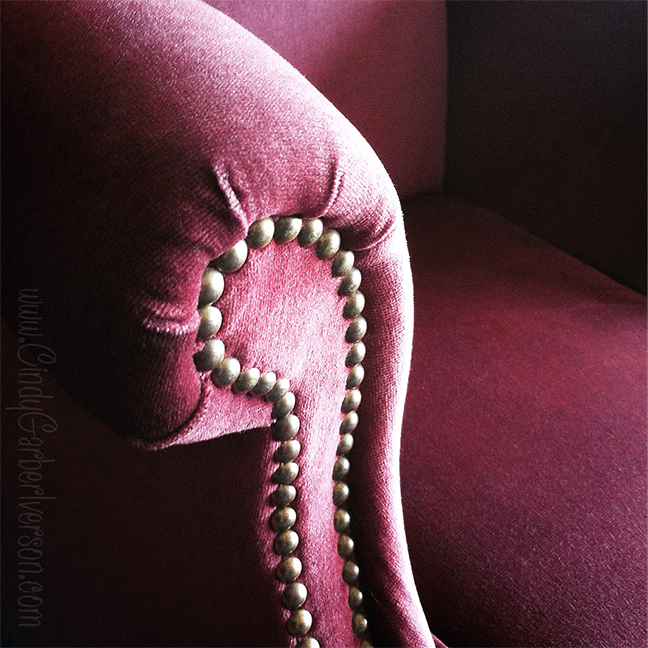
Do you see a story is in this one I took with my iPhone yesterday?
As a photographer, I often find myself creating images that I hope inspire the viewer to begin a story in their mind as if the photograph captured just one frame of an event or place that is part of a rich story plot-line. That story is between the viewer and the photograph. The story I thought of when I created the photograph will probably be completely different than each story that each viewer envisions in their mind. The photograph becomes its own entity separate from me and my imagination. That’s the cool part.
As I took the above photo with my iPhone yesterday and began post-processing it to share on Instagram, I realized where this aspect of my creative process was born and why I often create this way.
When I was in college as an art history major, I had the rare privilege of taking a Japanese art history class with a visiting professor who was also a collector of antique Japanese woodblock prints.
One day in class, the professor had the entire class come forward out of the stadium seating and all sit on the floor at the front of the room. He then passed around a large stack of mounted antique Japanese woodblock prints from his personal collection for each of us to hold (the thrill of holding something that rare and precious was indescribable).
After each of us got a print to hold, he told us that there was a specific way to appreciate Japanese art that he was going to teach us right then and there. He told us to study the scene and everything about it. Once we had time to absorb everything that was in the scene, he said, “Okay. Now let your mind allow you to step into the scene and envision what is just beyond the edge of where the image in the print ends. Imagine what would be around you if you turned around and looked back. Imagine what it feels like and any smells that might be there.” Then he left us with our own minds to wander within the print.
I distinctly remember what the image of my print was even though I can’t remember the artist, the date it was created or the title. It was a beautiful night scene with a full moon over an ornate Japanese bridge in a garden. Silhouettes of willow branches hung down into the edges of the composition. Moonlight sparkled off the dark water that ran under the bridge. I remember mentally stepping into that garden and exploring. I remember imagining what the cool night air felt like and the sound of the gentle breeze as it rustled the willow branches.
That experience lasted only a few minutes and was a very long time ago but I remember it very well. I could easily recognize that woodblock print if I saw it again. Why? Because of what my professor taught us that day–that to truly appreciate a piece of art you need to find a way to step within it and experience it in a deeper way than just looking at it and saying, “Oh, that’s a cool picture” and then moving on.
That experience completely changed how I viewed art from that point forward. It deeply affected my artistic tastes. For a piece to make me turn my head and love it, it has to inspire a similar response deep inside me.
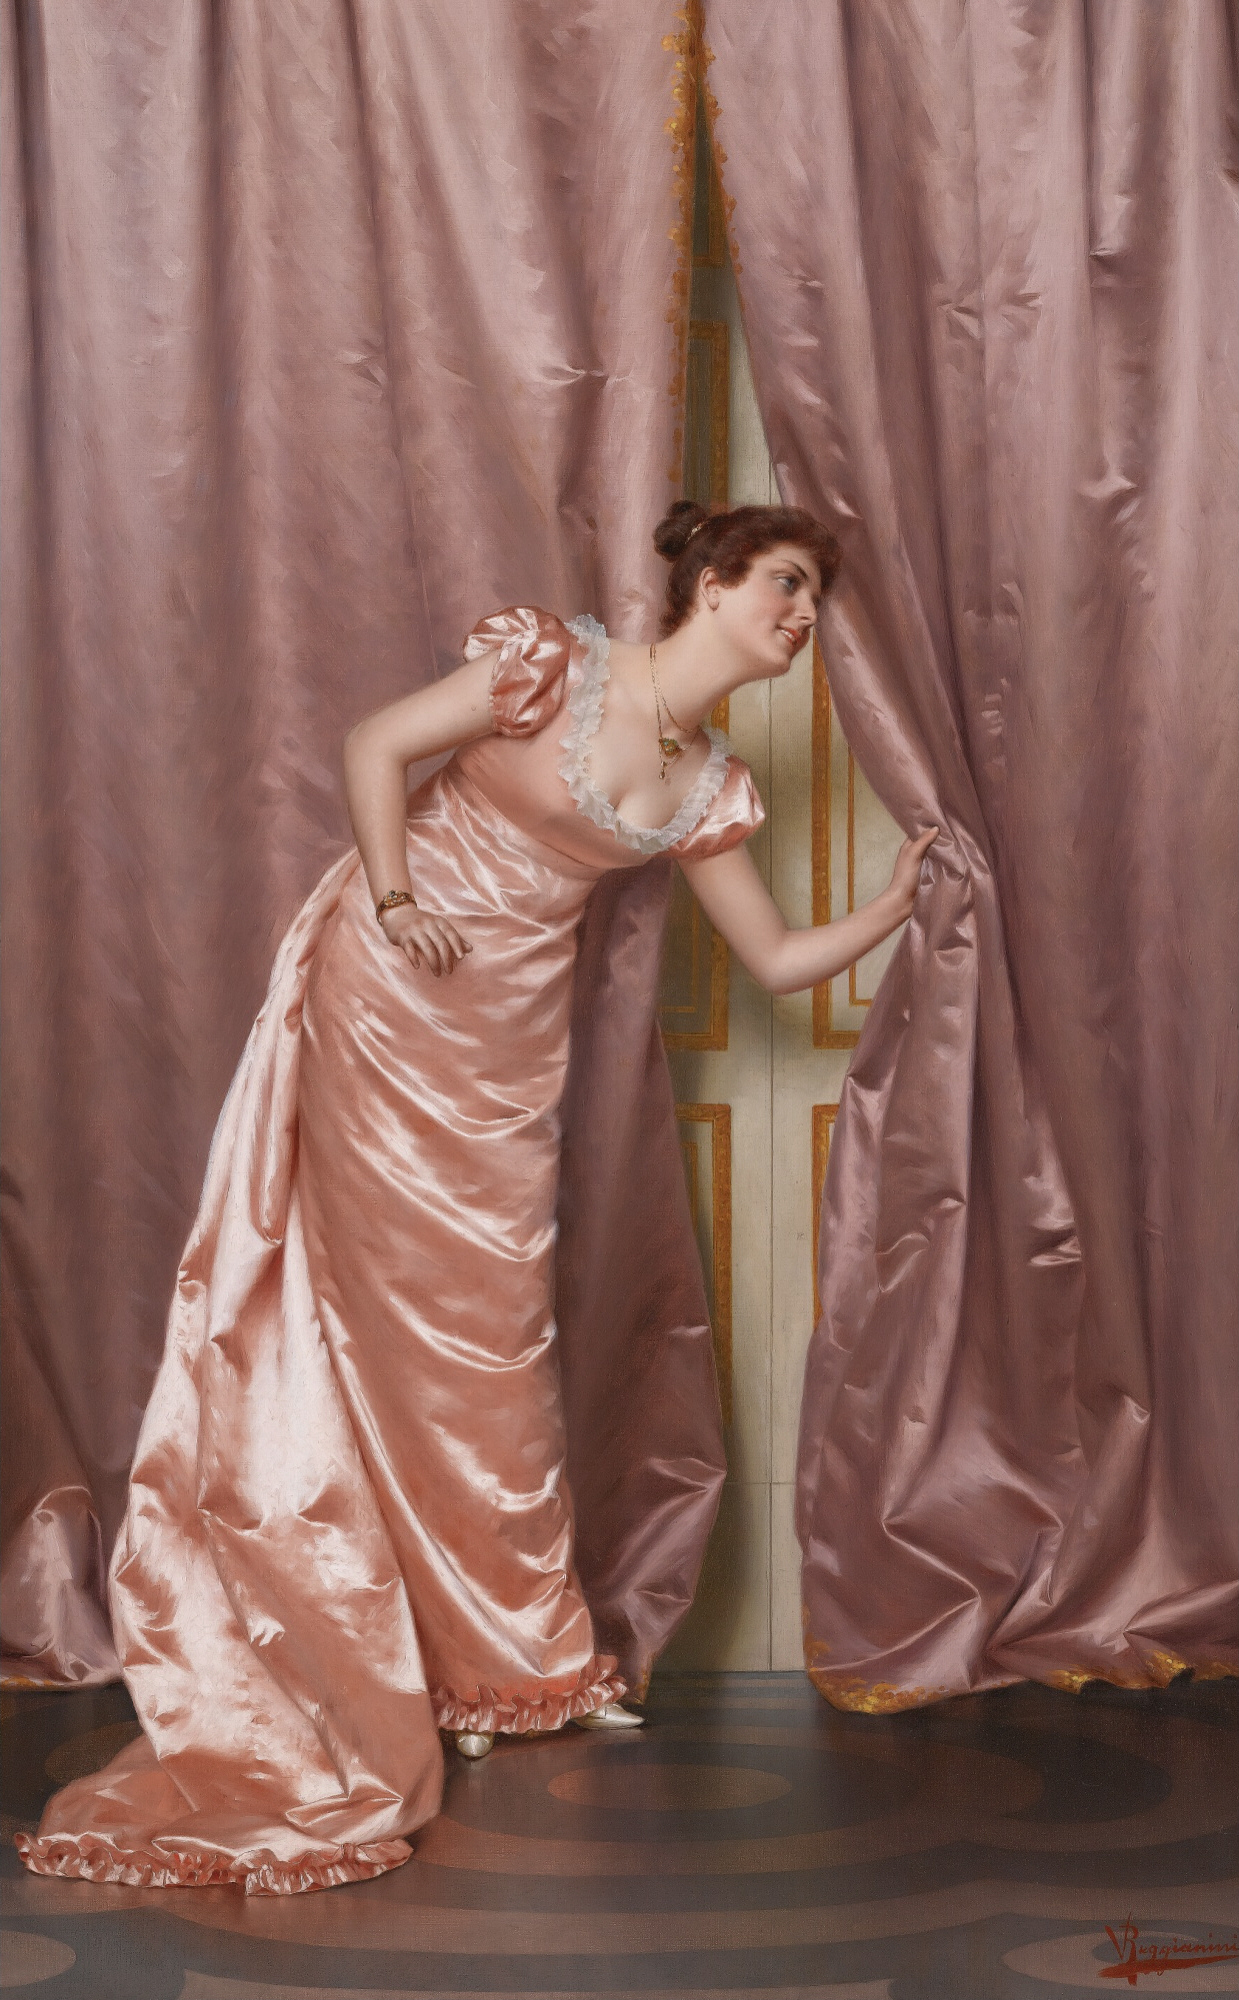
Today, I found a new-to-me painting that has done just that. It is the 19th century painting by Vittorio Reggianini entitled “Eavesdropping”.

Eavesdropping by Vittorio Reggianini (1858–1938) in the public domain
Here are some other examples of my favorite paintings that I love for the same reasons–I feel like I could step into the scene and find myself in the middle of a wonderful story.
The first time I discovered this painting, I began to weep because of a feeling deep inside my chest that was tugged and pulled. That’s how much it inspired a story to begin to form within me. I can almost hear the sounds of a summer evening at twilight and feel the summer night air around me. I am completely captured by the magic of this moment as two little girls get ready to enjoy the garden at night by the light of their lanterns.
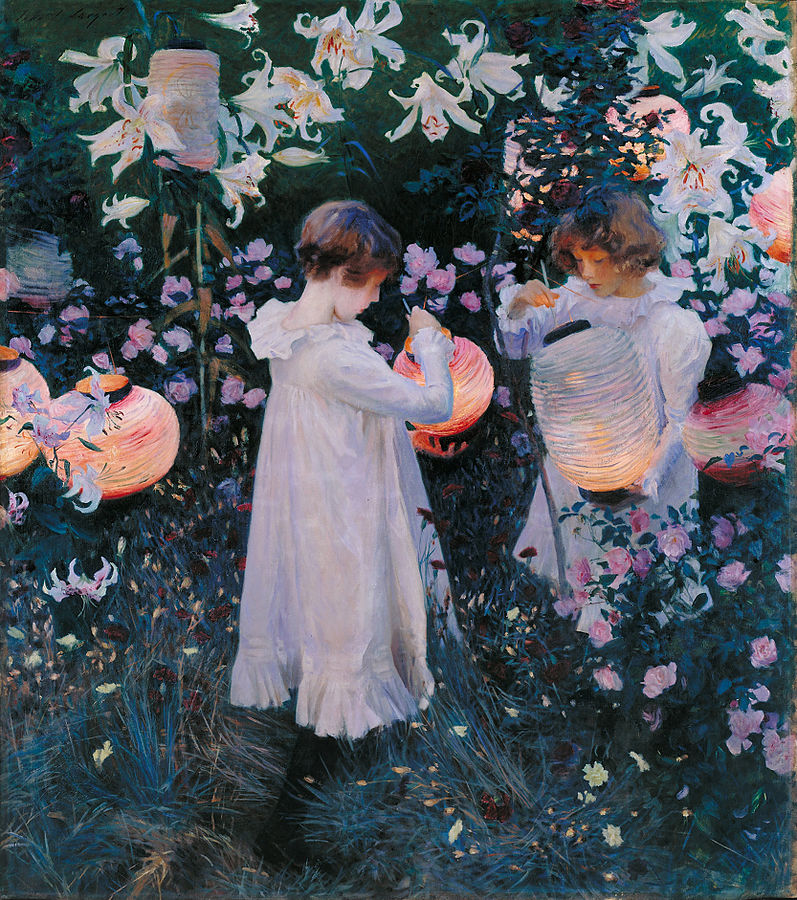
Carnation, Lily, Lily, Rose by John Singer Sargent in the public domain
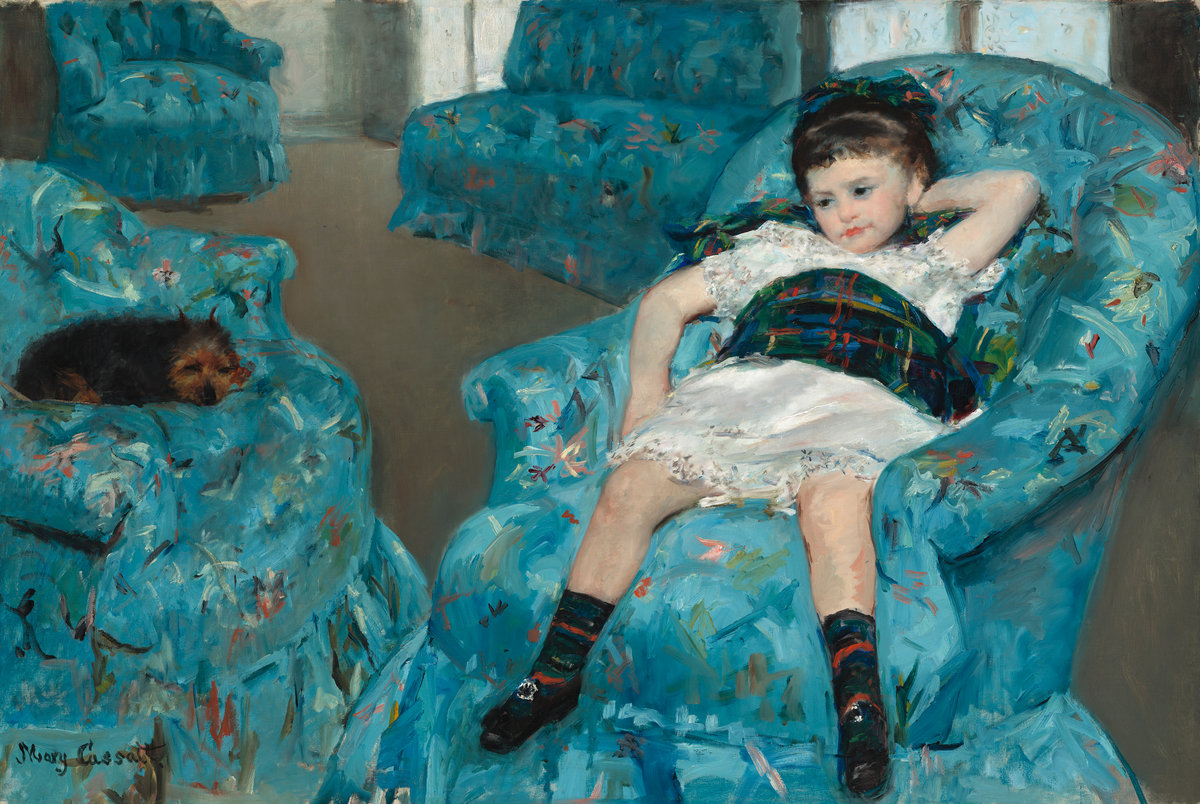
And this has to be one of my all-time favorite paintings. I look at it and I feel like I am in that living space with that little girl. I’m almost able to read her thoughts as she reclines with her skirt all rumpled up around her as if she just plopped down.